
I love books. I read a lot and when I scrapbook I often include torn pages from real books as embellishments or background. My wedding last June (I can’t believe it was last year now!) had a birdcage theme crossed with books, which suited the vintage feel.
Here’s how I ran with the theme throughout the day:
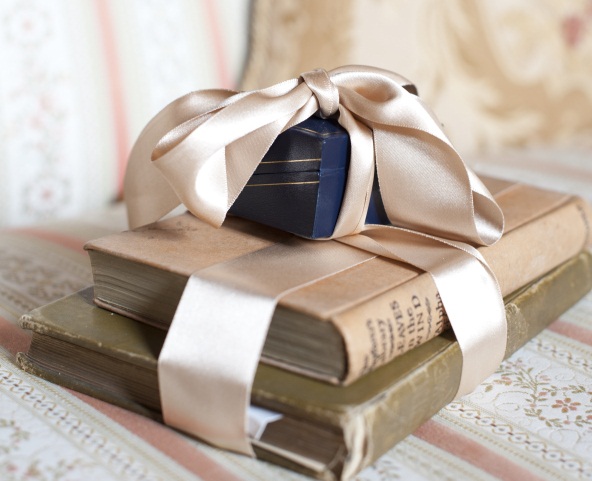
I placed the ring box on two very old books borrowed from my Nan and Grandad’s book cabinet, tied with ribbon. My wonderful Grandad is no longer with us but this made me feel he was still part of the day. He loved books too.

We placed this beautiful book box on the Registry table. What was inside? It’s a secret!

Guest book – I layered scraps of my chosen novel over a paperchase scrapbook and added my framed title. I bought the flower pen from a seller on Etsy.

I wanted to place a paper rose made out of pages from a special book in grooms button hole and my bouquet. I almost ordered them on Etsy but then found a tutorial online and was glad I was able to add this special touch myself.

Our table names were designed by the wonderful Lucy Ledger. Me and my groom chose half of the table names each. Mine ran along the lines of Romeo & Juliet, Confessions of a Shopaholic and The BFG. His were his most loved sci fi thrillers, “The Eye of the World” for example!
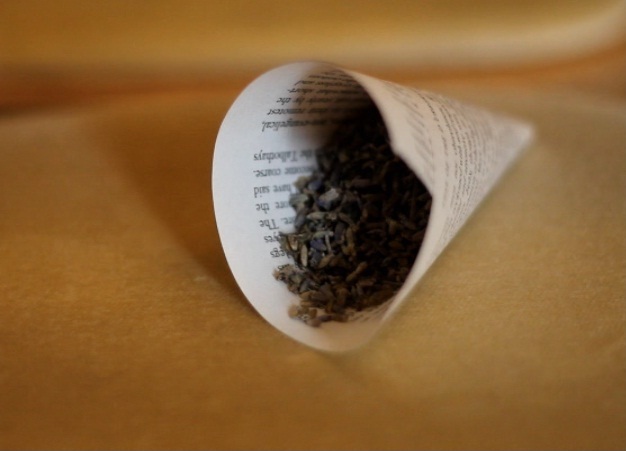
Confetti cones – These were simple to make with just pages from a novel and a glue gun.
Table confetti – We didn’t manage to get a photo of this but you can use your imagination. We made small paper hearts from a novel using a heart shaped whole punch. Punching hurt my hands and getting a decent amount took ages, so I gave this job to my groom! Luckily I only wanted a few scattered on each table!
Photography copyright Source-Images.
The temperature here in Blightly has been up and down more than a Merry-Go-Round in the last couple of weeks. And in the past three days we’ve had bursts of unseasonable warmth…well mildness (15 degrees is positively tropical in February!)
This has put me in a Spring like mood and I was unable to resist this gorgeous dress in GAP at lunch time and I just had to share!

It is going to be the perfect cute flirty dress for valentine’s day.
I love dresses like these as they go with leggings and boots in winter and with sandals in the summer (when it’s not raining!).
Hot pink equals hot! You can find it here for the UK/Europe or here for USA.
They also do the same shape in a few patterns/colours. I think I may have another before the year is out…
Yesterday lunch time I found myself in Baby Gap. My lovely sister-in-law is expecting in May so don’t worry, I had a legitimate reason to be browsing. And no, I don’t have any special news!
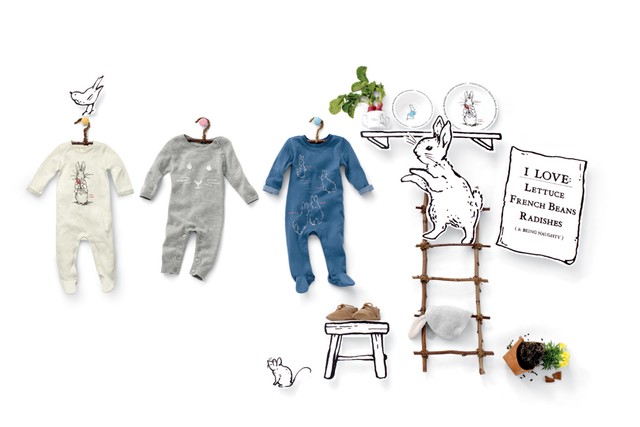
While in there I absolutely fell in love with their Peter Rabbit collection. There seems to be a bigger selection in store than online and my favourites include an adorable 7 day baby grow set which is beautifully packaged, and a cute knitted button up sweater with hood which has ears attached.
If there’s a baby in your life you probably wont be able to resist!
These few weeks my lashes have been sad. I’ve lost a few and the ones that remain are going through a growing phase. When my lashes get like this my usual wonder mascaras don’t seem so wonderful. So, as usual in this situation, I went and bought a new one. Usually when I do this I’m not amazed and my lashes remain lack-lustre. But this time I used new Max Factor Clump Defy Volumising Mascara. I’ve used their False Lash Effect Mascaras before so had high hopes, especially with the main difference of this one being a curved wand and the promise of no clumps. The worst thing when your lashes are sparse is to clump them together!

This mascara is a win for my lashes today and I can only imagine how great it will be when they’re on good form. The curved brush gets hold of more lash and gently curls whilst coating. And it lives up to the no clump promise, giving you more time to tease lashes in to bambi shape.
Love!
I absolutely adore Lucy Ledger Designs and was lucky enough to have her do my wedding stationary. When I look back through my wedding photos, the invitations and table names are among the things that felt 100% right (as well as my Husband of course!).
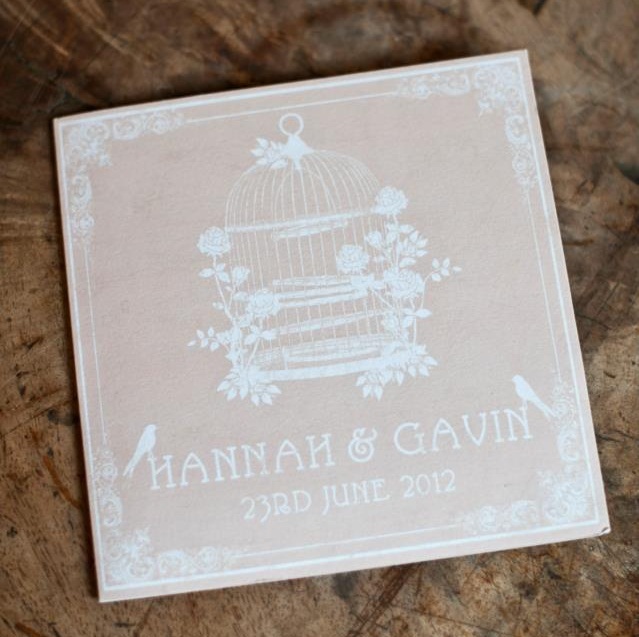
Now, in the same theme (Silent Birdcage) as well as others, you can buy blank invitations which you fill in yourself.
Check them out here.
You can also buy matching products like iPhone cases from her store. Not that I need to buy another phone case, in fact, I think I may actually be banned…
Rodial makes some amazing skincare products.
Thanks to Emerald (Stylist Magazine’s email subscription site) you can get 30% off orders placed on Rodial’s website before the 1st of January.
Use product code EMERALD30 at the checkout.
I love their Glamtox range, this is on my wish list: Glamtox to Go Set

The much mentioned wedding (on here anyway, I’m not saying its legendary across all the land or anything*) took place in June this year.
My lovely mother in law hung my bridal bouquet up to dry out whilst me and my new husb went on a lovely 3 week honeymoon in Bali. Mmmmm Bali.
Anyway, my bouquet is now sitting pretty in a lovely ivory jug**.

After reading The Art of Handmade Living by Willow Crossley (review here) I fell in love with bell jars and all the lovely things you can display in them. Then I saw the bottom left pic below and it got me thinking about other ways to show off your beautiful bouquet.

If it were my time again I’d definitely research the options before the big day (don’t worry, I’m not pining for wedding number two!). If you are yet to say ‘I do’, bear in mind that there are different drying techniques which all give different effects.
*It might be. Just saying. The vodka luge may have helped.
**My jug was a bargain from The Range. If you’ve never been there you’ll love this amazing homeware and craft centre!
After a lovely weekend of pampering and relaxing at a spa, today at work was never going to be a great day in comparison. Especially with a filling at the dentist tonight.
Well I’ve kept my cheer up all day by wearing my cutest pug tshirt under my office friendly cashmere jumper.

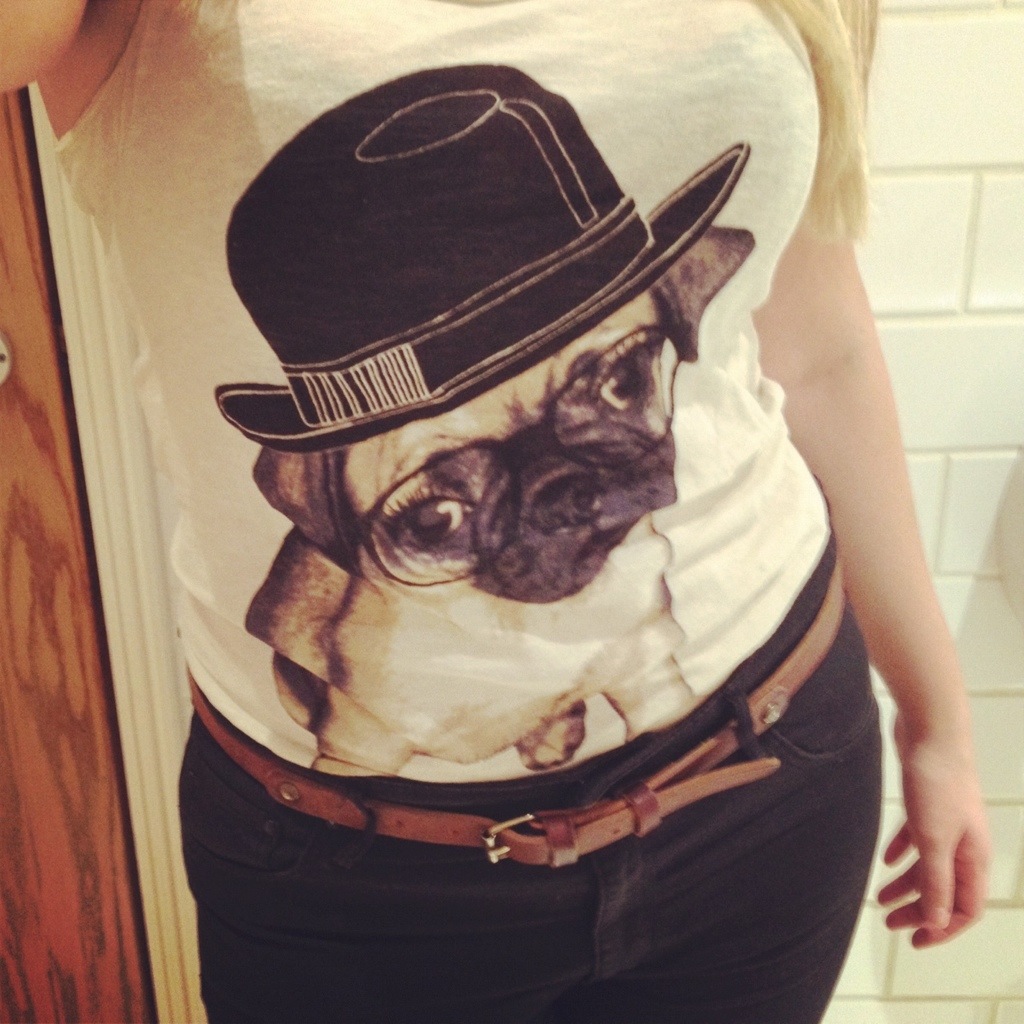
He’s our little secret.
Now, if only I had a real pug waiting for me when I get home…
As mentioned in a recent post here, I received some Impress Press on Nails, in my first glossy box and LOVE them!
At first I was apprehensive. Stick on nails reminded me of my teenage self gluing the same nail back on time and again, building up a lovely layer of white glue all around my finger.
These come plain or patterned (animal print, lace etc). The ones I received weren’t to my taste but I figured the claim on the pack (lasts up to a week) made them worth a trial.
Application is so easy. Out of the 20 nails you choose the right ones for your fingers, remove the backing and then press the nail firmly in to position.
I was so impressed (haha!) by how they fixed to my nail so well and so easily. I really put them to the test over the following few days, using them to pull on too tight dresses (think along the lines of 2 sizes too small Bodycon- don’t ask) and opening various containers with them, which is something I’d never do with a normal manicure. They didn’t show mercy at any point and stayed glossy and chip free- they are incredible.
I’d compare them to a gel manicure, but minus the hour at the Salon and worrying about removal and nail damage from all the filing.
When I was ready for these to go 4 days after application they came off fairly easily. You can just peel from the bottom corner as I did (it took a bit of force), or use nail polish remover around the edge to loosen the glues hold. My nails underneath were perfectly undamaged.
After falling in love with them I researched further and found these are endorsed by Nicole Scherzinger who designed a range of them. My faves over all are a beautiful lace design which I recently wore to a lovely do.

They are on 3 for 2 promotion at Boots right now and you can find more info at http://impressmanicure.com/.
Last night I went to the Flexible Hand Bound Journal Making Class run by www.themakelounge.com. I’ve been looking forward to it since I booked a couple of months ago and found it really interesting. The class was 2.5 hours and here’s what I made! Not bad for a first attempt!
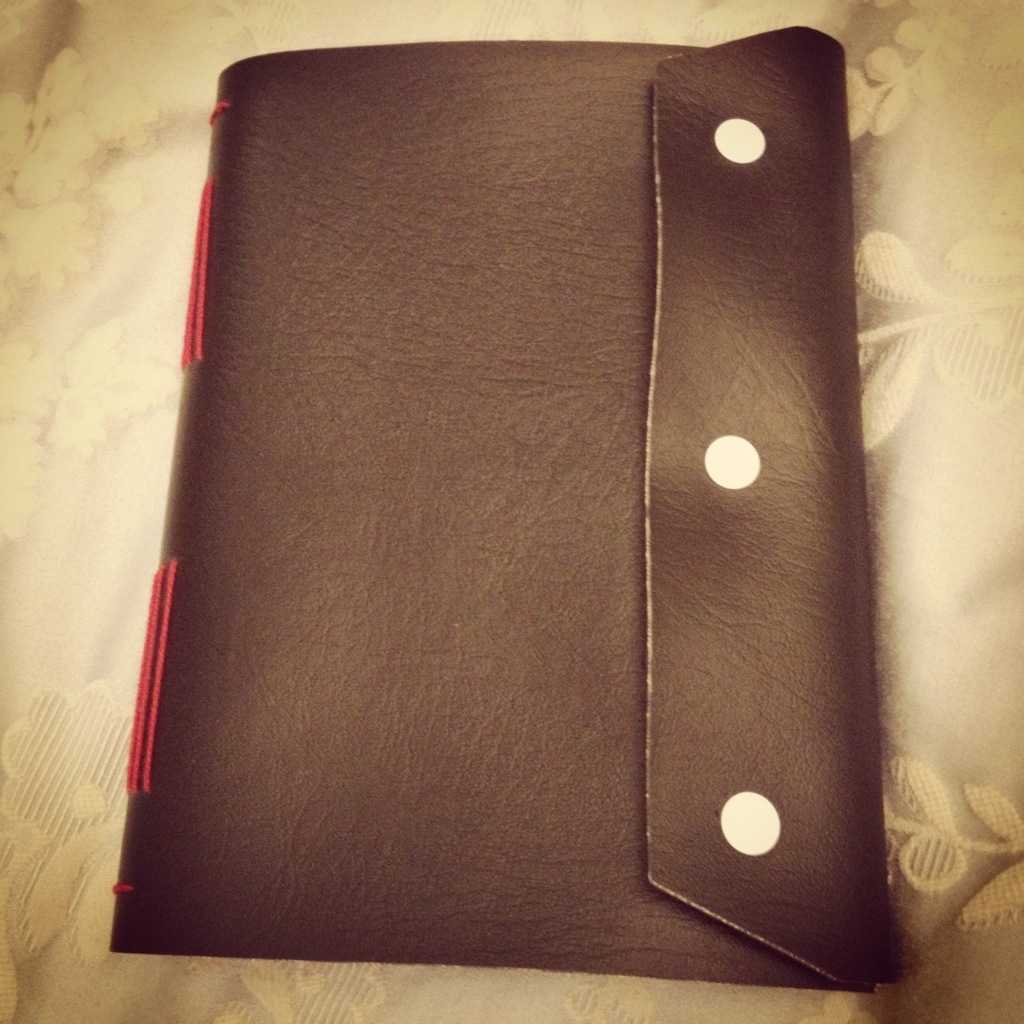


One of my BFF’s is off traveling soon and I decided to make this for her as a goodbye gift. I chose durable colours that won’t get dirty when being thrown in and out of a fit to burst backpack (or a sandy beach!).
I left the class with instructions and a template so I can make more at home and there’s just a couple of tools I need to be able to do it.
Here’s a few pics I took during class. I didn’t take any when I was stitching as I was too engrossed!
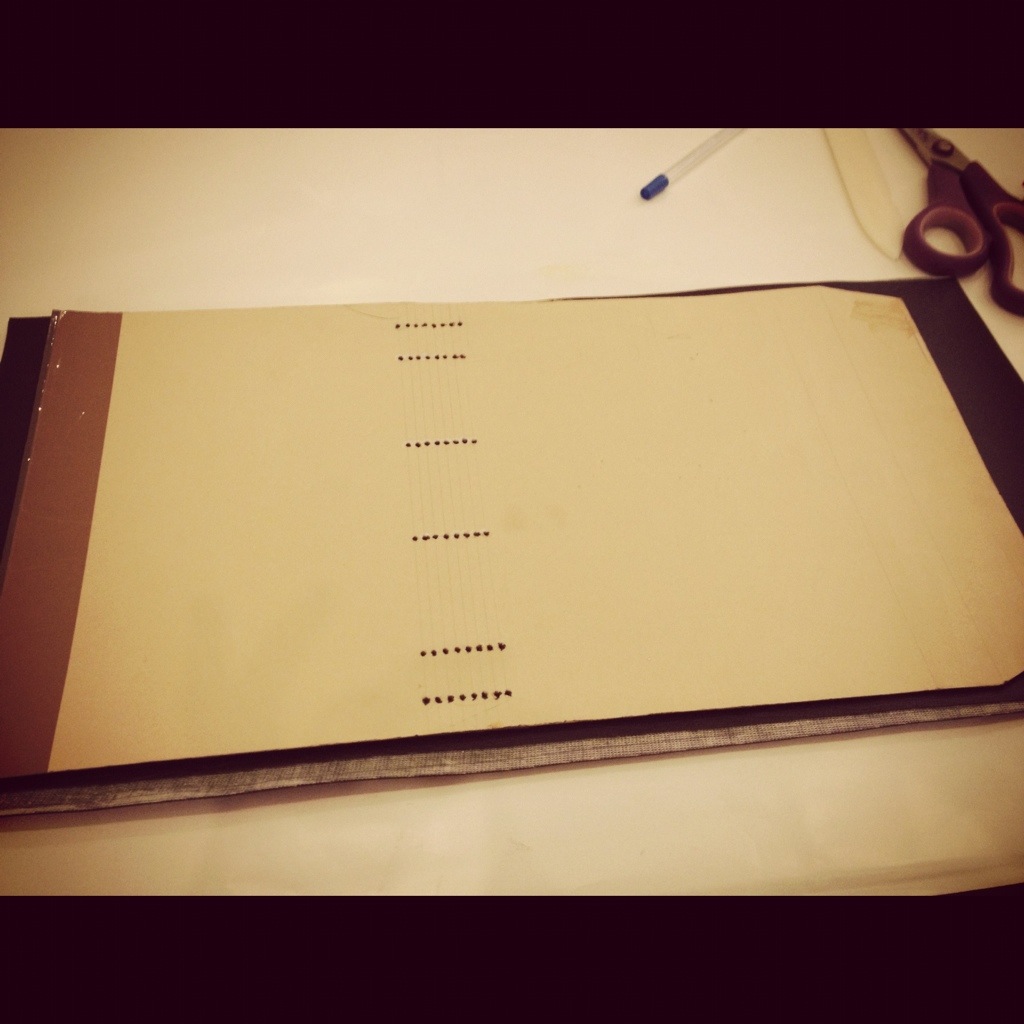
The template we used and my material.
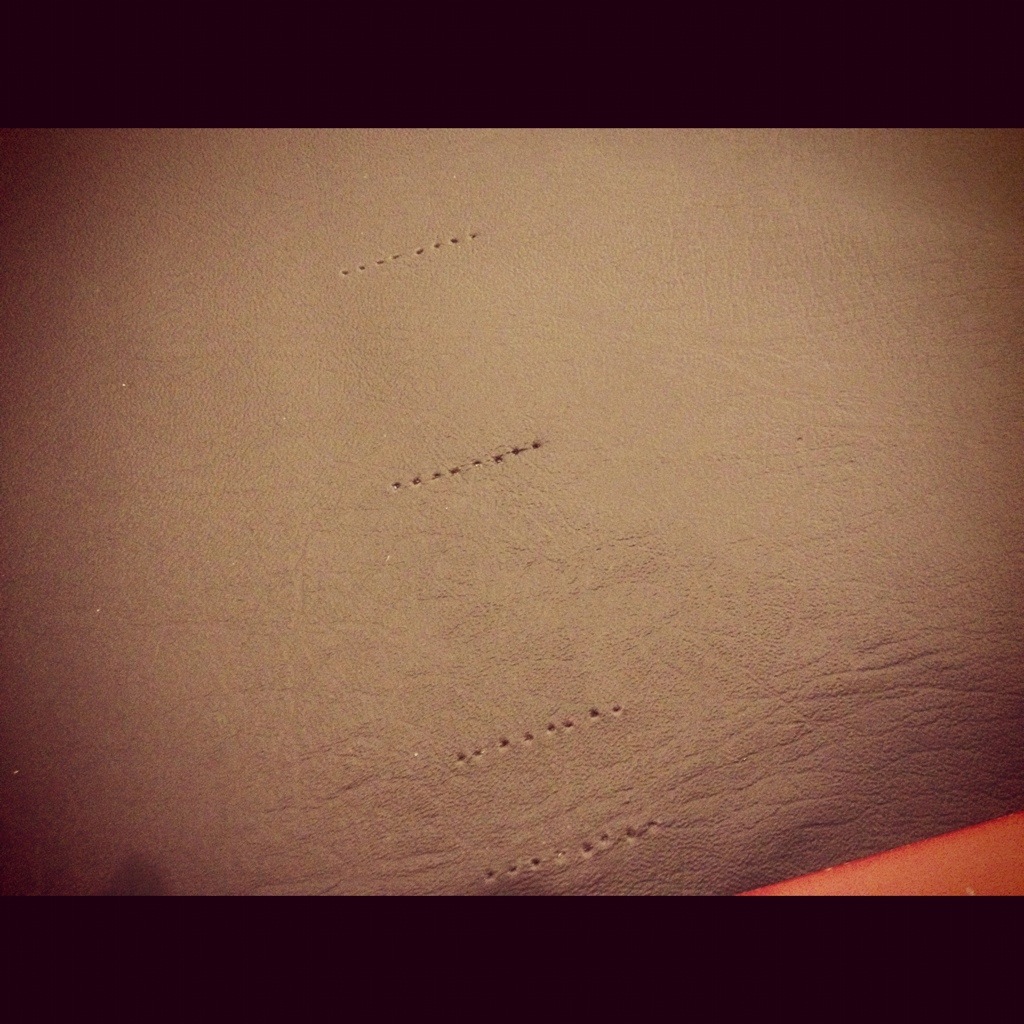
We made the holes for stitching with an awl. New tool that will also be handy for scrapbooking!

The pages inside are just A4 paper folded. We stitched 8 sections in to the book in total, with 5 pages of A4 in each.
I’ll be getting some beautiful cream leather to make one for myself, and think a ribbon tie will finish it off nicely.
